大事记
公司大事件
    graph TB
    Company(甲方-乙方公司) -- 2019.11.11 --> 成立
    Company --- Project(项目)
    Company --- Human(人员)
    Human -- 2019.11.11 --> 任命
    Appoint[人员任命] --> PartyA(甲方)
    PartyA --> All(全体成员)
    Appoint[人员任命] --> PartyB(乙方)
    PartyB -- PM --> PM(胖子)
    PartyB -- UI --> UI(花花)
    PartyB -- RD --> RD(yooking)
项目时间轴
    graph TB
    Project2[项目时间轴]
    Project2 --> P1[2019.11.11-项目立项]
    P1 --> P2[2019.11.11-确立目标]
    P2 --> P3[2019.11.11-第一份需求文档]
    P3 --> P4[2019.11.17-第一份产品文档]
    P4 --> P5[2019.11.19-第一份流程图]
    P5 --> P6[2019.11.19-项目代码构建]
文档路径
开发笔记
开发环境
System And Software
1 | Windows 7/10 |
开发规划
- Flutter 多平台开发
- Java 后台开发
- 前后端联动
- 公众号开发
开发进度
graph TB
Dev[开发进度]
Dev --> D1[2019.11.19-配置开发环境]
D1 --> D2[2019.11.19-创建项目]
D2 --> D3[2019.11.19-HelloWorld]
D3 --> D4[2019.11.22-自定义日历页]
开发详情
环境配置
Android Studio 配置 Flutter 详细流程:
1、引入 github 项目: /d/Flutter/
$ git clone https://github.com/flutter/flutter.git2、在引入 github 项目的同时,可同步操作:
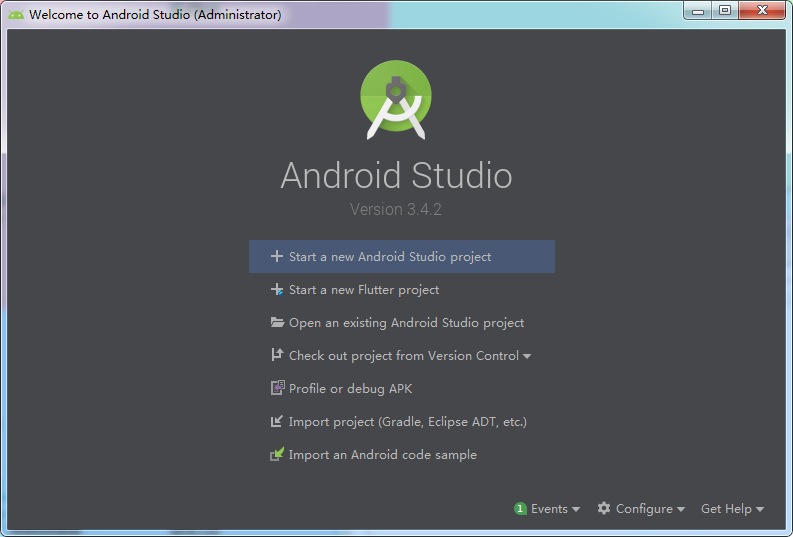
- 2.1、打开 Android Studio
- 2.2、点击 Configure
- 2.3、选择 Plugins
- 2.4、搜索 Dart 插件和 Flutter 插件并下载
- 2.5、关闭 Android Studio
3、配置环境变量
- 3.1、环境变量 Path =
D:\Flutter\flutter\bin - 3.2、powershell 中执行
flutter doctor(报错1)
报错1:
无法将“Unblock-File”项识别为 cmdlet、函数、脚本文件或可运行程序的名称。请检查名称的拼写,如果包括路径,请确保路径正确,然后重试。
所在位置 行:1 字符: 131
2
3
4
5
6
7
8Unblock-File <<<< -Path 'D:\Flutter\flutter/bin/internal/update_dart_sdk.ps1
'; & 'D:\Flutter\flutter/bin/internal/update_dart_sdk.ps1'
+ CategoryInfo : ObjectNotFound: (Unblock-File:String) [], Comman
dNotFoundException
+ FullyQualifiedErrorId : CommandNotFoundException
解决方案:
powershell升级至5.0并重启计算机即可- 3.1、环境变量 Path =
创建项目
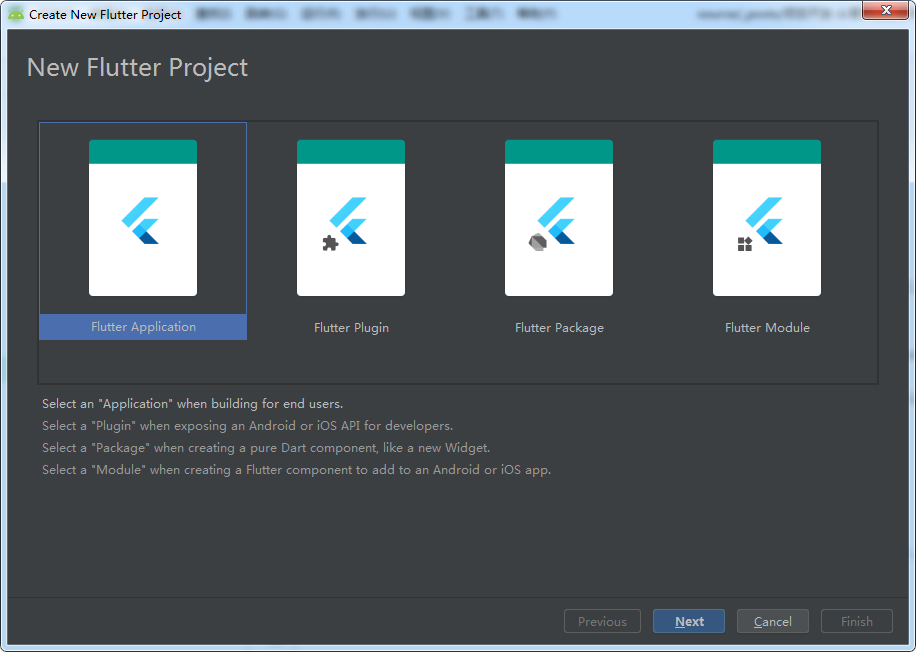
- 1、Start a new Flutter project
- 2、Flutter Application
- 3、Project name
bookkeeping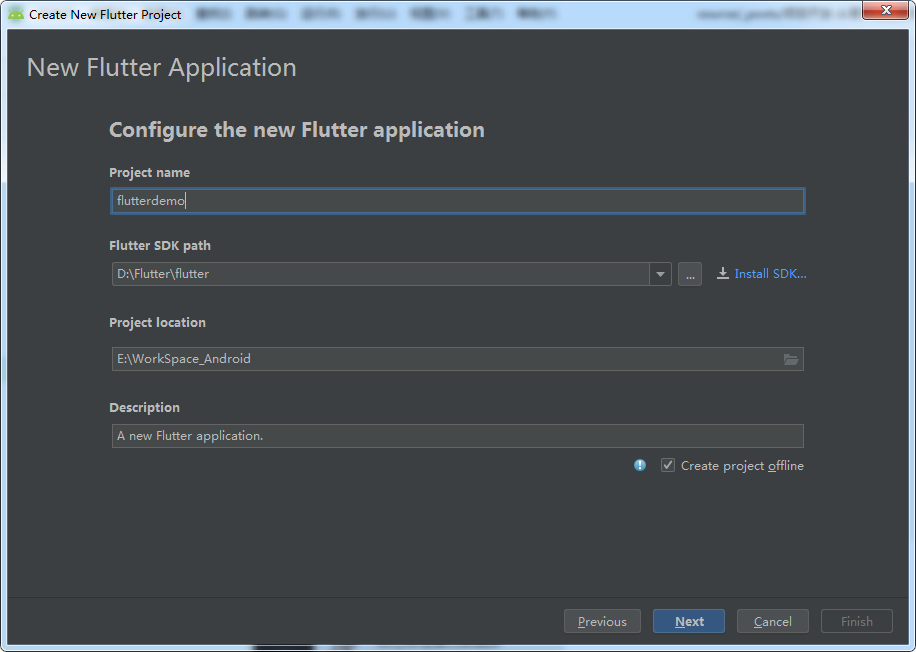
- 4、Company domain
yooking.com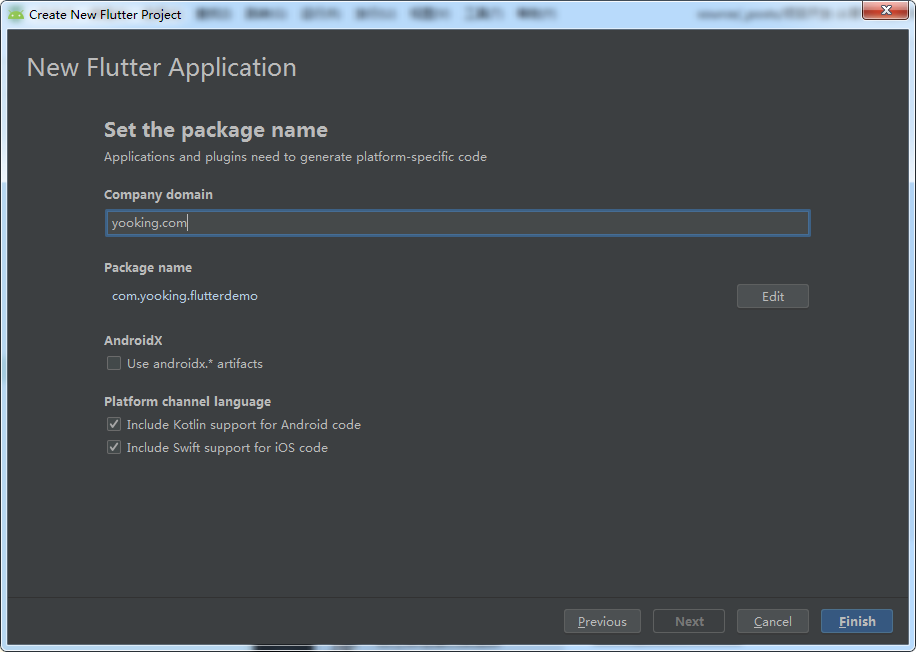
HelloWorld
诸事开头,哈喽world
1 | import 'package:flutter/material.dart'; |
界面效果: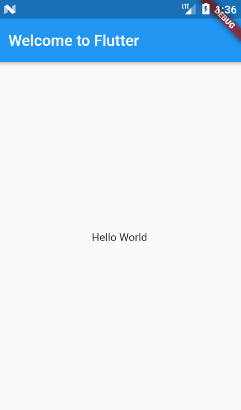
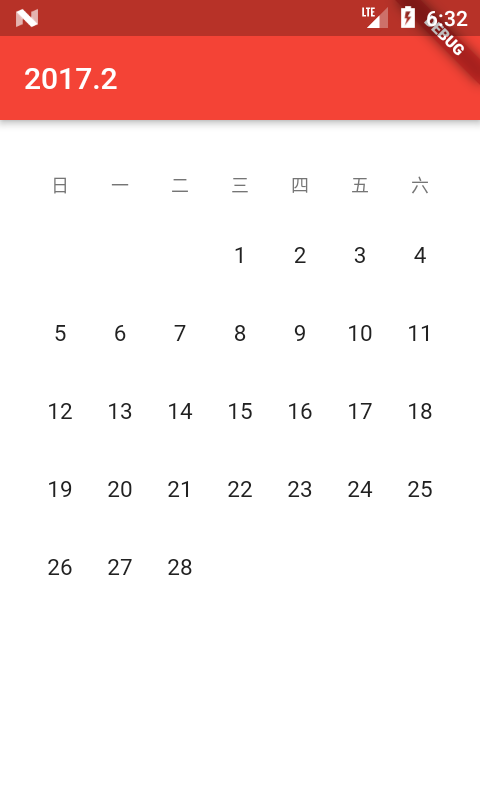
自定义日历页
自定义日历页面备用:
Column:类似LinearLayout的vertical,自上而下布局Row:类似LinearLayout的horizontal,从左到右布局日历应该是由数个方块构成,自上而下,每行7个方块,首先创建
StateFullWidget:1
2
3
4
5
6
7
8
9
10typedef void OnDayClickListener(DayModel model);
class CalendarWidget extends StatefulWidget {
final MonthModel _monthModel;
final OnDayClickListener onDayClickListener; //点击事件回调
CalendarWidget(this._monthModel, this.onDayClickListener);
State<StatefulWidget> createState() => _CalendarWidgetState();
}
日历整体布局使用
Column布局,第一行(Row)为星期1
2
3
4
5
6
7
8
9
10
11
12
13
14
15
16
17
18
19
20
21
22
23
24
25
26
27
28
29
30
31
32
33
34
35
36
37
38
39
40
41
42
43
Widget build(BuildContext context) {
double screenWith = MediaQuery.of(context).size.width;
...
}
/**
* @param {Object} double screenW 屏幕宽度
* 屏幕宽度只有build后才能获取
*/
weekWidget(double screenW) {
List<String> titleList = <String>['日', '一', '二', '三', '四', '五', '六',];
List<Widget> widgetList = [];
titleList.forEach((title) {
widgetList.add(weekTitleItem(title, (screenW - 40) / 7));
});
return Container(
width: screenW - 40,
height: 17,
child: Row(
mainAxisAlignment: MainAxisAlignment.spaceBetween,
children: widgetList,
),
);
}
/**
* @param {Object} String title 文字
* @param {Object} double width 单个方框宽度
*/
weekTitleItem(String title, double width) {
return Container(
alignment: Alignment.center,
width: width,
child: Text(
title,
style: TextStyle(
color: ColorUtil.color('757575'),
fontSize: 12,
),
),
);
}第二到第七行为日期:
5.1 计算本月[空白]天数 - 转换为计算本月1号是周几 其中周日为第一天
1
2
3
4
5
6
7
8
9
10
Widget build(BuildContext context) {
...
int weekDay = TimeUtil.getDayOfWeek(
widget._monthModel.year, widget._monthModel.month, 1);
_emptyDay = weekDay == 7 ? 0 : weekDay;
...
}5.2 计算本月的日历长度(天) - 转换为获取本月最后一天为几号
1
2
3
4
5
6
7
8
Widget build(BuildContext context) {
...
_maxDayOfMonth = TimeUtil.getLastDayOfMonth(
widget._monthModel.year, widget._monthModel.month);
...
}5.3 计算本月的日历实际长度:
int length = _emptyDay + _maxDayOfMonth;5.4 计算本月的日历行数:
_rows = (length / 7).ceil();5.5 将每日数据加入到日历列表中
widgetList并转换为Row列表1
2
3
4
5
6
7
8
9
10
11
12
13
14
15
16
17
18
19
20
21
22
23
24
25
26
27
28
29
30
31
32
33
34
35
36
37
38
39
40
41
42
43
44
45
46
47
48
49
50
51
52
53
54
55
56
57
58
59
60
61
62
63
64
65
66
67
68
69
70
71
72
73
74dayWidget(int year, int month, BuildContext context) {
double screenWith = MediaQuery.of(context).size.width;
List<Widget> widgetList = <Widget>[];
for (int i = 1; i <= _emptyDay; i++) {
widgetList.add(emptyDayItem(context));
}
for (int i = 1; i <= _maxDayOfMonth; i++) {
widgetList.add(
dayItem(
new DayModel(TimeUtil.getDate(year, month, i)),
context
)
);
}
List<Row> rowList = <Row>[];
for(int i=0;i<_rows;i++){//每7天为一行
int min = i*7;
int max = i+1 == _rows? widgetList.length:(i+1)*7;
rowList.add(Row(
children: widgetList.sublist(min,max),
));
}
return Container(
width: screenWith - 40,
height: 52.0 * _rows,
child: Column(
children: rowList,
),
);
}
dayItem(DayModel model, BuildContext context) {
double screenWith = MediaQuery.of(context).size.width;
double singleW = (screenWith - 40) / 7;
String dayTitle = model.dateTime.day.toString();
bool isAfterToday = model.dateTime.isAfter(DateTime.now());//是否日期在今日之后
bool isNoPay = model.pay == 0;//是否无花销
return GestureDetector(
onTap: () {
if(isAfterToday||isNoPay) return;
dayClick(model);//点击事件
},
child: Stack(
children: <Widget>[
Container(
width: singleW,
height: 52,
alignment: Alignment.center,
child: Text(
dayTitle,
textAlign: TextAlign.center,
style: TextStyle(
color: isAfterToday||
isNoPay ? ColorUtil.color('BDBDBD'): ColorUtil.color('212121'),
fontSize: 15,
),
),
),
],
),
);
}
emptyDayItem(BuildContext context) {
double screenWith = MediaQuery.of(context).size.width;
double singleW = (screenWith - 40) / 7;
return Container(
width: singleW,
height: 52,
);
}5.6 将所有
Row放入Column中排列1
2
3
4
5
6
7
8
9
10
11
12
13
14
15
16
17
18
19
20
Widget build(BuildContext context) {
...
return Container(
width: screenWith,
height: 24.0 + 17.0 + 13 + _rows * 52.0 ,
child: Column(
children: <Widget>[
SizedBox(
height: 24,
),
weekWidget(screenWith),
SizedBox(
height: 13,
),
dayWidget(widget._monthModel.year, widget._monthModel.month, context),
],
),
);
}5.7 赋予日历点击事件
1
2
3
4
dayClick(DayModel model) {
widget.onDayClickListener(model);
setState(() {});//刷新当前页面(即整个CalendarWidget的build)
}在
CalendarPage中调用CalendarWidget并添加滑动事件1
2
3
4
5
6
7
8
9
10
11
12
13
14
15
16
17
18
19
20
21
22
23
24
25
26
27
28
29
30
31
32
33
34
35
36
37
38
39
40
41
42
43
44
45
46
47
48
49
50
51
52
53
54
55
56
57
58
59
60
61
62
63
64
65
66
67
68
69
70
71
72class CalendarPage extends StatefulWidget {
State<StatefulWidget> createState() => _CalendarPageState();
}
class _CalendarPageState extends State<CalendarPage> {
static final maxYear = DateTime.now().year;
static final maxMonth = DateTime.now().month;
MonthModel _monthModel = new MonthModel(maxYear, maxMonth);
Widget build(BuildContext context) {
final data = MediaQuery.of(context);
final screenHeight = data.size.height;
final screenWidth = data.size.width;
//获取当前日期作为标题
num dx,dy;
return Scaffold(
appBar: new AppBar(
title: new Text("${_monthModel.year}.${_monthModel.month}"),
),
body: Listener(
onPointerDown: (event){//监听按下
dx = event.position.dx;
},
onPointerUp: (event){//监听抬起
num delX = event.position.dx - dx;
num delY = event.position.dy - dy;
if((delX / delY).abs() < 2.7 ) return;//cot 20°≈ 2.7 cot越小,角度越大
if(delX > 50) updateMonth(-1);//左滑则月份-1
else if(delX < -50) updateMonth(1);//右滑则月份+1
},
child: Container(
height: screenHeight,
width: screenWidth,
color: Colors.white,
padding: const EdgeInsets.symmetric(horizontal: 10.0, vertical: 10.0),
alignment: Alignment.topCenter,
child: new CalendarWidget(
_monthModel,
(dayModel) {//每日点击事件
//todo:打开详情页面
MyToast().showToast(TimeUtil.formatDate(dayModel.dateTime) +
"花费了" +
dayModel.pay.toString() +
"元");
},
),
)
),
);
}
updateMonth(changeMonth){
_monthModel.month += changeMonth;
if(_monthModel.month > 12){
_monthModel.month -= 12;
_monthModel.year ++;
}else if(_monthModel.month < 1){
_monthModel.month += 12;
_monthModel.year --;
}
if(TimeUtil.getDate(_monthModel.year, _monthModel.month, 1)
.isAfter(DateTime.now())) {
//不可超过本月
_monthModel.year = maxYear;
_monthModel.month = maxMonth;
return;
}
setState(() {});//刷新当前build
}
}效果演示